By Miles Sinclair
Updated November 2026
A red black and gold table setting works because each color has a job. Red brings warmth and energy, black grounds the look and keeps it from feeling busy, and gold adds shine that ties everything together. In this guide you will learn how to pick a color ratio, build a base layer, place your dishes and flatware, and finish with centerpieces and small details that make the table feel planned rather than crowded.
Start With a Color Ratio
Before you buy or pull anything out of storage, decide how much of each color you want on the table. Too much red can feel loud, and too much black can feel heavy. A reliable starting point for most holiday tables is the 60-30-10 rule: about 60 percent of the visual weight in your dominant neutral or base color, 30 percent in your secondary color, and 10 percent in an accent.
Shopping for one? See our guide: 5 Best Table Setting Black and White Picks for Modern Hosts (2026).
For this palette, the most common approach is to let black or deep charcoal act as the base, red take the secondary role, and gold serve as the accent. Some hosts reverse this and use red linens with black chargers. Either version works. What matters is that one color clearly leads.
Sample Color Split
| Element | Color Role | Approximate Share of Visual Weight |
|---|---|---|
| Tablecloth or runner | Black or deep red | About 50 to 60 percent |
| Napkins and charger accents | Red | About 25 to 30 percent |
| Flatware, candleholders, rims | Gold | About 10 percent |
Gather the Essentials
A layered table needs more pieces than a single-color setting, so make a list before you start. Having everything out in advance keeps the setup from turning into a scramble an hour before guests arrive.
- One base tablecloth or floor-length runner in black, charcoal or deep red
- Chargers or placemats in black, gold-rimmed or matte finish
- Dinner plates, salad or bread plates, and bowls that suit your menu
- Cloth napkins in red, with a gold napkin ring or fold for contrast
- Gold or brushed-brass flatware, plus a set of clear or black glassware
- Candles or hurricane holders, with a mix of heights
- Greenery, berries or pinecones for a centerpiece base
- A lint roller, a steamer or iron, and a measuring tape
Step 1: Lay the Base Layer
Press your tablecloth or runner before anything else. Creases show more on dark fabric and on a table with a glossy finish. Center the cloth so it hangs an even 10 to 12 inches over each end of a standard rectangular table, or about 15 to 20 inches for a floor-length look. If you are using a runner, set it down the center, leaving about 12 inches of tablecloth showing on each side.
If you are using both a base cloth and a runner, put the runner on top and keep the colors clearly different. A black cloth with a red runner, for example, gives you depth without clashing.
Step 2: Set the Charger and Dinner Plate
Place one charger at each seat, centered, with the edge about one inch from the table edge. Set the dinner plate on the charger. If you are not using chargers, a black or gold-rimmed dinner plate can play the same role.
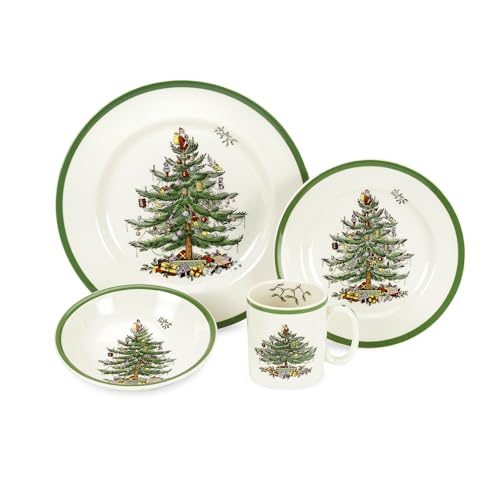
Keep the plates consistent across the whole table. Mixing many patterns in a palette this bold can make the setting look cluttered. If you are working with a tight color scheme, a few well-chosen pieces go further than a large mismatched collection. For more layout ideas, see Red and Gold Table Setting Ideas: 6 Festive Layouts for Holiday Hosts.
Plate Stacking Options
- Single place plate: Clean and modern. Works best with a patterned or metallic charger.
- Stacked salad plate: Place a smaller red or black plate on the dinner plate for a layered effect.
- Bread plate and butter knife: Set at the upper left, with the butter knife across the top.
Step 3: Place the Flatware and Glassware
Standard place setting rules still apply. Forks go on the left, with the salad fork outermost. Knives and spoons go on the right, with the blade facing the plate. Set the dessert spoon or fork horizontally above the plate, handles pointing in opposite directions if you use both.
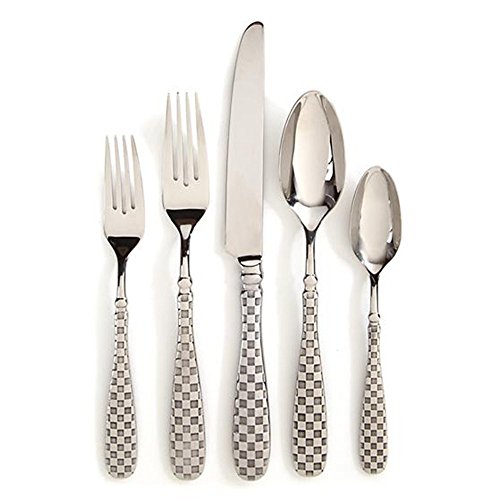
Use gold or brushed-brass flatware for the most cohesive look. Glassware should sit above the knife, angled slightly to the right. Water glasses go on the far right, with wine glasses in front of them. Clear glassware keeps the table from getting too dark, but black stemware can look striking if you have enough light.
Step 4: Fold and Place the Napkins
Red napkins are the main source of warmth on this table, so fold them with care. A simple rectangle folded into thirds and placed on the plate works well. A fan fold stands up nicely and adds height. Tie a gold napkin ring around the middle or slide a small black or gold card into the fold with a guest name.
Place the napkin on the dinner plate or to the left of the forks, depending on your style. Keep the position the same at every seat so the table looks orderly.
Step 5: Build the Centerpiece
A centerpiece is where the palette comes together. Aim for something low enough that guests can see each other across the table. Keep the height under about 12 inches, or use tall candles only if your table is long enough to leave room for conversation.
- Use black or gold vases, bowls or trays as a base.
- Add red berries, red ornaments, roses or red-tipped greenery.
- Use real or faux evergreen for texture, and add a few gold pinecones or small baubles.
- Scatter a few taper or pillar candles in gold or black holders.
If you want a more formal arrangement, Elegant Black and Gold Table Setting: 8 Steps for a Polished Holiday Table shows how to layer similar pieces in a more structured way.
Step 6: Add Lighting and Final Details
Lighting changes everything about a dark table. Place candles at varied heights along the centerpiece, and keep them clear of hair, sleeves and dishes. Use flameless candles if you have children or pets, or if your venue does not allow open flames. Dim the overhead lights, and let the candles and any accent lamps set the mood.
Finish with small touches: a printed menu card or place card in black or gold, a few loose gold confetti pieces scattered on the runner, or a single red ribbon tied around each napkin ring. Do not add so many small items that guests cannot reach their plates.
Recommended gear
A few supplies make the setup easier and more polished. These are product types to search for, not endorsements of a specific seller.
- Matte black charger plates: A matte finish hides fingerprints and reflects less light, which keeps the table calm next to bright red napkins. View on Amazon
- Gold-rimmed dinner plates: A thin gold band adds the metallic accent without overwhelming the table. View on Amazon
- Brushed gold flatware set: Brushed finishes look more subtle than high-polish gold and show fewer marks under candlelight. View on Amazon
- Flameless taper candles: Battery candles give you the glow of real flame without the open-flame risk on a crowded table. View on Amazon
Common Mistakes
- Using too many red tones. Pick one red and one shade of it. Mixing bright cherry red with deep burgundy can look accidental.
- Letting black dominate. A full black table can feel funereal. Keep the red napkins and gold accents visible.
- Skipping the press. Creases in dark linens are very noticeable. Steam or iron the cloth the night before.
- Placing a tall centerpiece. Anything above eye level blocks conversation. Keep arrangements low or use short candles.
- Ignoring lighting. A dark palette needs light to look rich. Test the table in the dimmed room before guests arrive.
- Over-decorating the plates. Leave room for food, glasses and elbows. A clean setting looks more elegant than a crowded one.
Tips for a Stress-Free Setup
- Set the table one to two days ahead, leaving only fresh flowers and food for the day of.
- Count the number of seats and pull out exactly that many chargers, plates and napkins before you start.
- Photograph your layout before guests arrive so you can compare it to your plan and make quick fixes.
- If you are hosting a larger group, consider a second, smaller table with the same color plan for dessert or drinks.
- Keep a small kit nearby with extra napkins, a lint roller, tape and a few spare candles.
FAQ
What is the best base color for a red black and gold table setting?
Black or deep charcoal usually works best as the base because it grounds the red and makes the gold stand out. Deep burgundy can also serve as the base if you want a softer, warmer look.
How many colors should I use on the table?
Three main colors are enough. Use red, black and gold, then add neutrals like white or cream only in small amounts, such as on a few plates or a single candle.
Can I use gold dishes instead of gold flatware?
Yes. Gold-rimmed plates or gold-accented chargers can replace some of the metallic elements. Keep the gold consistent across the table so it reads as one choice rather than a mix of finishes.
Should the napkins be red or black?
Red napkins usually add the most warmth and make the table feel festive. Black napkins can work if your tablecloth is red, but the setting can look darker overall.
How do I keep a dark tablecloth looking clean?
Dark fabrics show lint, dust and wrinkles. Use a lint roller before guests arrive, steam or press the cloth the day before, and keep food and candles away from the edges.
What size centerpiece works best with a red black and gold table?
Keep it under about 12 inches tall so guests can see one another. A low arrangement of greenery, red accents and a few candles is usually the most practical choice.
Is this palette suitable for casual gatherings?
It can be. Swap the flatware for simpler gold-plated pieces, use cloth napkins in place of paper, and keep the centerpiece informal. The palette adapts well to both dinner parties and holiday brunches.
Conclusion
A red black and gold table setting comes together when you choose a clear color ratio, build the base layer carefully and let gold do the finishing work. Set each place with consistent pieces, keep the centerpiece low, and use candlelight to bring the colors to life. With a little planning and a short checklist, you can create a table that looks polished and welcoming from the first guest to the last.
Related reading
- Elegant Red and Gold Table Setting: 7 Steps for a Festive Holiday Table
- Black and Red Table Setting: A Step-by-Step Guide for Hosts
- Black and Gold Table Setting: A Step-by-Step Guide for Hosts
Ready to choose one?
About Miles Sinclair
Miles Sinclair is part of our editorial team and reviews and edits our holiday hosting guides, checking product details against manufacturer specifications and owner feedback.